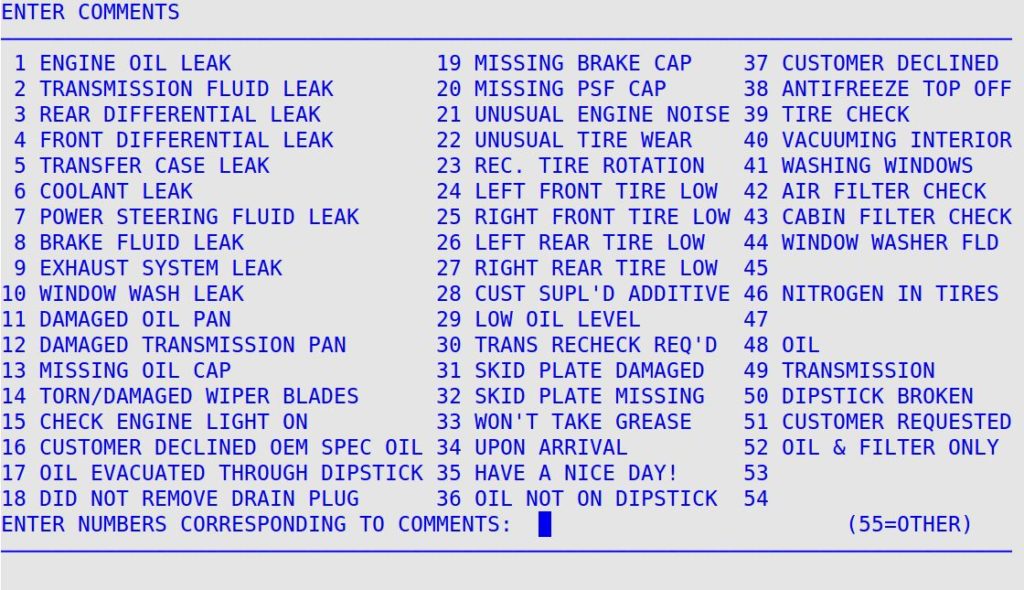
This option allows you to choose up to seven comments that will print on the customer’s invoice. You can specify on screen 1 of the Center Control File whether you want this PopUp to appear automatically during the invoicing process. Add or edit comments in the Set Up Comments (1-6-1-3) screen. See Setting Up Comments for more information.
The on-the-fly comment feature allows you to include a comment on an invoice that is specific to one customer for one visit. These comments print on the invoice just like a regular comment and are archived with the invoice information. You must set up this feature on screen 1 of the Center Control File. See the Setting Up the Center Control File article for more information.
Use the following steps to access the Comments PopUp:
![]()


| Note: | If you want to include an additional on-the-fly comment, just type 55 again. To edit an on-the-fly comment, press the Up arrow key until your cursor is on the 55. Press [Enter] to bring up the comment window on your screen that contains the information you previously entered. |