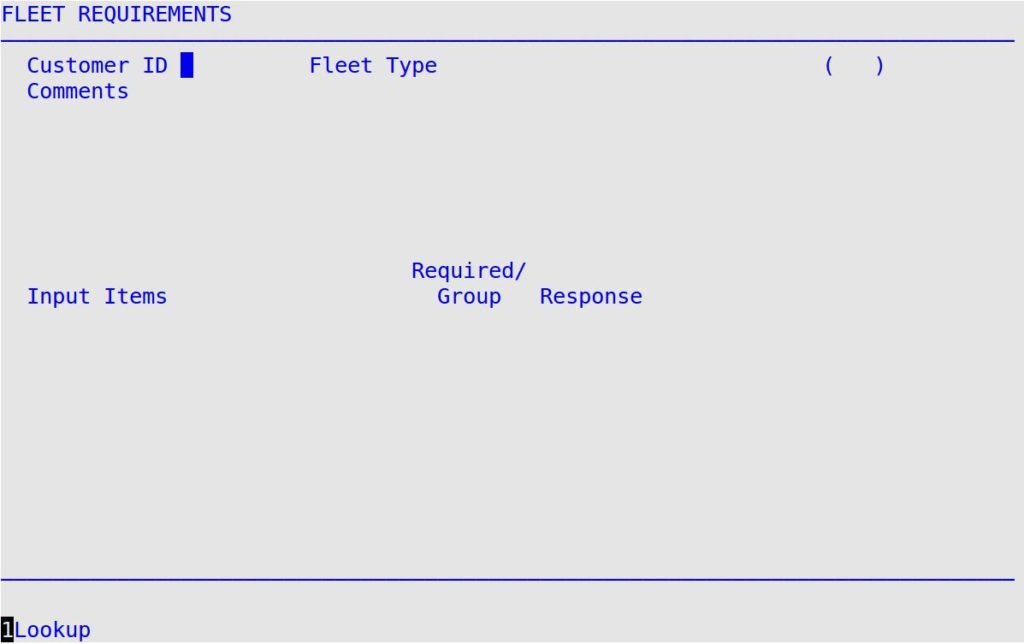
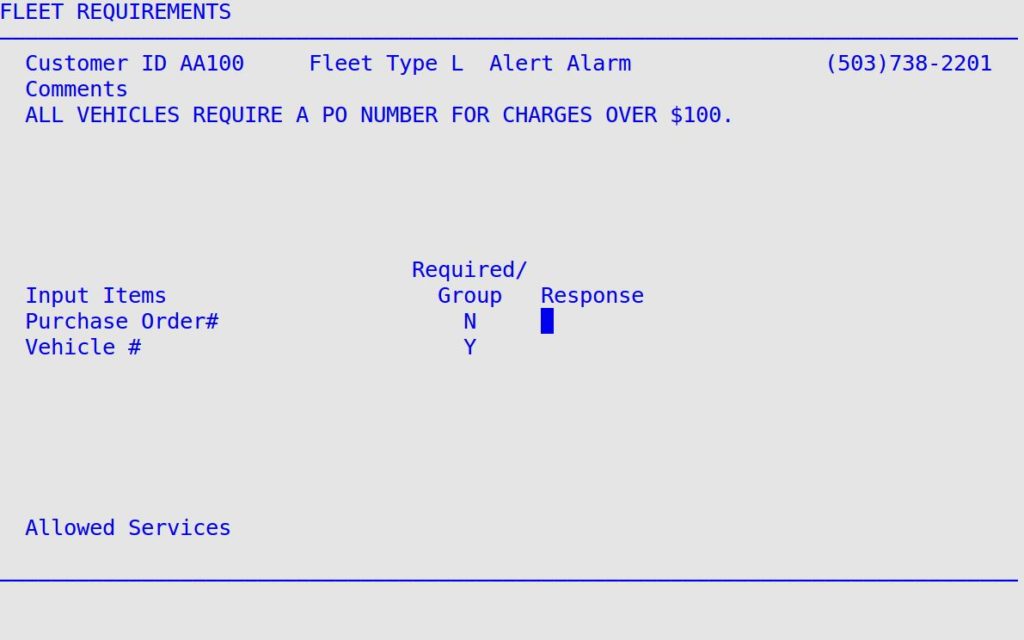
If you need to process a new vehicle and attach it to a charge customer, you process it almost the same way as a new vehicle record. The following instructions explain the extra step you take to process a new charge customer or fleet customer. For instructions on starting a work order for a new vehicle, see the article Creating a New Vehicle Record Through the Bay Invoicing Station
| Note: | Before processing a new charge (fleet) customer, you need to set the customer up in Set Up Charge Customers (1-4-2), if it does not already exist. |

| Note: | If there are notes for this charge (Fleet) customer, you receive the Fleet Notes popup. Press 0 to continue to the Fleet Requirements screen. |

| Note: | If you do not want to fill in all of the responses now, you do not have to at this point. If the customer is a billed customer, the system forces you to fill in the required information completely at the Cashier Station before you can cash out the customer. |
| Note: | Many fleets require an extra copy of the invoice at the point of service. You can use the Reprint Invoice option to print an extra copy or set the system to automatically print an extra copy of the invoice when one is cashed out for this fleet. See the article Setting Up Charge Customers. |
For additional instructions on invoicing vehicles, see the following articles: