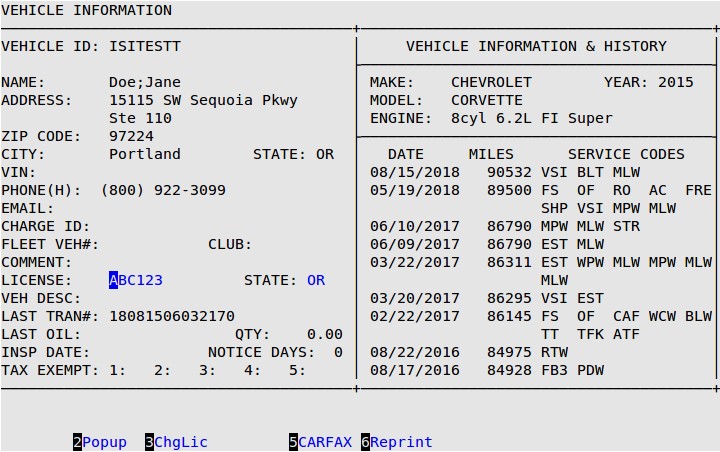
In some instances, a vehicle is a repeat vehicle and the correct vehicle ID is entered, but the system indicates that it is a new customer. This usually occurs if the vehicle ID was entered incorrectly on another service, and the system cannot find the correct vehicle history. This also happens when the license number has changed. If you know this is a repeat vehicle, but you receive the ** NEW VEHICLE ID ** OK to continue prompt, check to see if you typed the vehicle ID correctly. If you still receive the prompt, ask the customer if the license plate is new.
If your store uses an alternate ID for the vehicle ID and you need to change the license number, use the following steps.
| Note: | The [F3] key is only available for stores that use an alternate ID. For instruction on changing a vehicle ID, see the article Changing the Vehicle ID of a Repeat Customer. |
| Note: | If your store is set up to include state in ID in the Center Control File, type the 2-character state or province abbreviation in the State or Prov field. |

For additional instructions on invoicing vehicles, see the following articles: