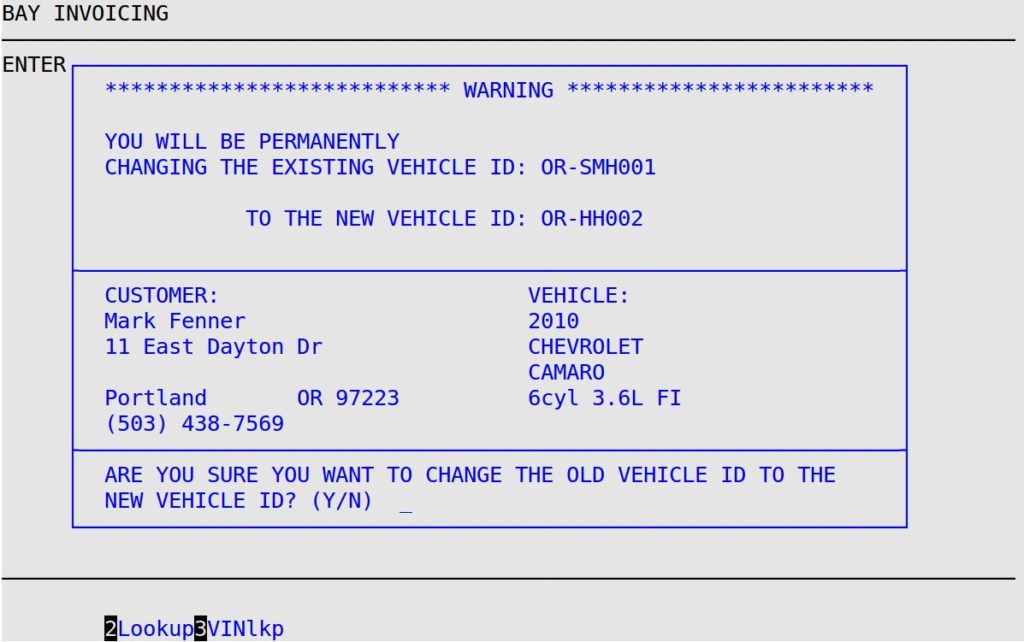
In some instances, a vehicle is a repeat vehicle and the correct vehicle ID is entered, but the system indicates that it is a new customer. This usually occurs if the vehicle ID was entered incorrectly on another service, and the system cannot find the correct vehicle history. This also happens when the license number has changed. If you know this is a repeat vehicle, but you receive the ** NEW VEHICLE ID ** OK to continue prompt, check to see if you typed the vehicle ID correctly. If you still receive the prompt, ask the customer if the license plate is new. The next sections explain how to change the vehicle ID.
If your store uses the license number for the vehicle ID and you need to change the license number, or if your store uses an alternate ID for the vehicle ID and you need to change to a new vehicle ID, use the following steps to change the vehicle ID.
| Note: | If your store uses an alternate ID for the vehicle ID and you need to change the license number, go to Changing the License of a Repeat Customer. |

| Note: | If the old vehicle ID has previous service history, you receive the following popup on your screen.
Do one of the following:
|
For additional instructions on invoicing vehicles, see the following articles: