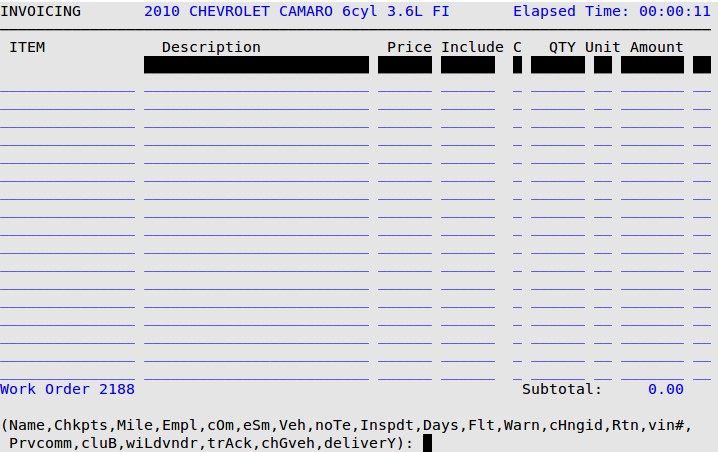
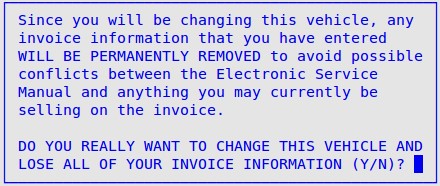
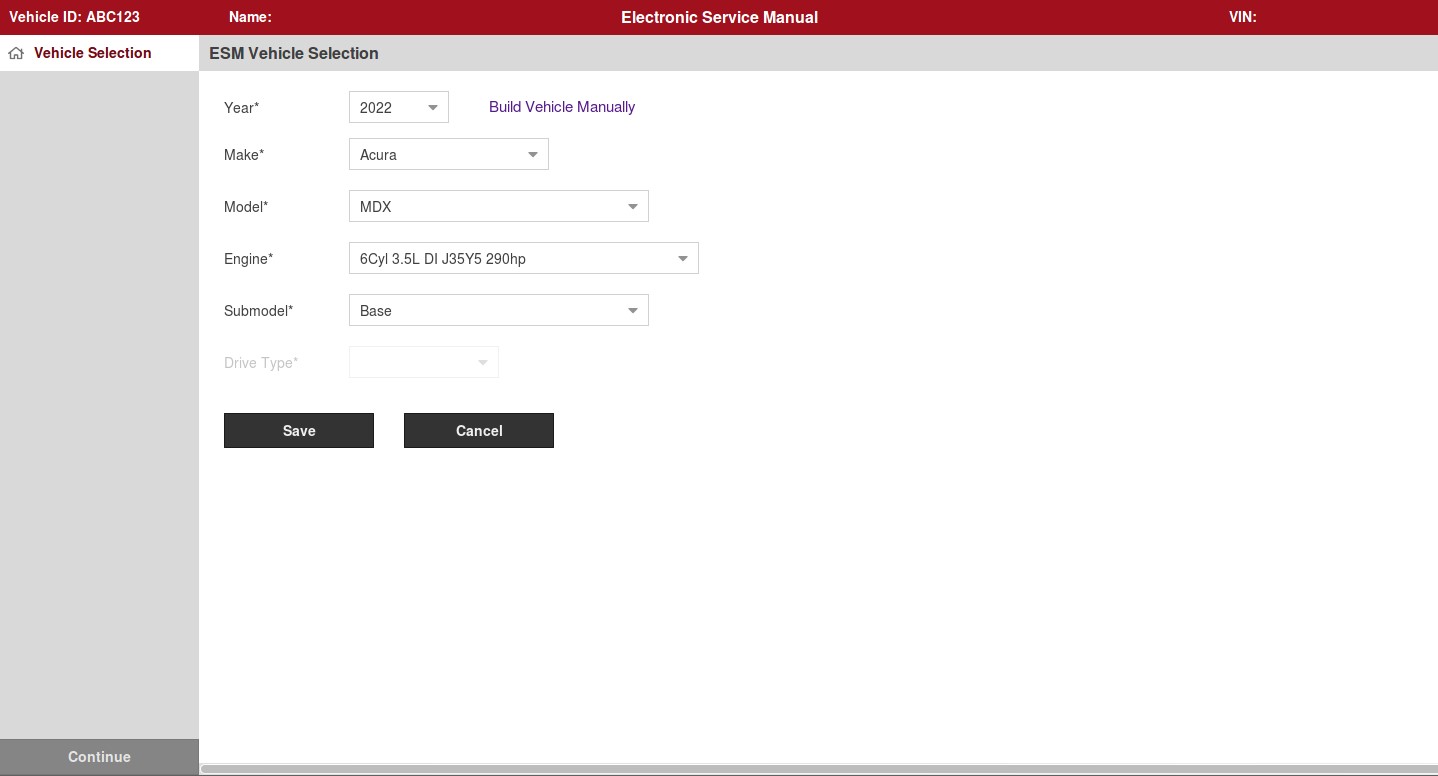
The Change Vehicle PopUp allows you to change the year, make, model, and engine for a customer. For example, you would need to do this if the license number and customer information stayed the same, but the vehicle changed.
Use the following steps to access the Change Vehicle PopUp:


| Note: | At any time, click the Build Vehicle Manually option to manually create a vehicle that is not available in ESM. For more information, see Creating a Manual Vehicle for Vehicles prior to 1980 or Creating a Manual Vehicle for Vehicles not Currently in the ESM. |

| Note: | This popup is only available at LubeSoft version 15.26 and above. On older versions, you will have the legacy ESM Vehicle Selection. |
| Note: | You may click the Cancel button at any time to go back to the invoicing screen and keep the original vehicle. |