Purchase Order Worksheets (POWs) are electronic worksheets that allow you to create and edit your inventory orders. Think of them as electronic scratch pads. Once you have finalized what you want your completed order to include, you convert your POW into an official Purchase Order (PO) with the simple click of a button. Follow the steps below to view or edit an existing POW, or click on one of the following links to jump to the relevant section.
Use the following steps to view or edit an existing Purchase Order Worksheet:
| Note: | Your employee ID is stored with each added, changed, and deleted record. This ID can be seen on the View/Edit Purchase Order Worksheet, View Purchase Order, and Receive Purchase Order screens. Your employee security level, set in the Set Up Employees screen (1-5-1), is used to validate access to the PO Module. |
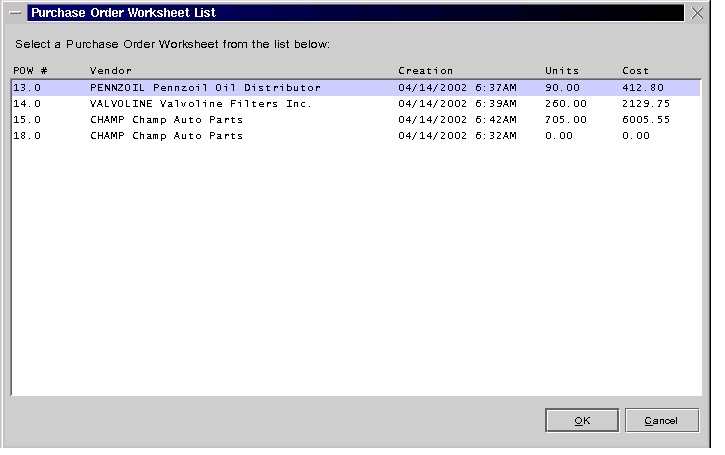
| Note: | When you start a new POW, the system will automatically assign it a number. This number will also be assigned to the official Purchase Order that is generated from this Purchase Order Worksheet. |
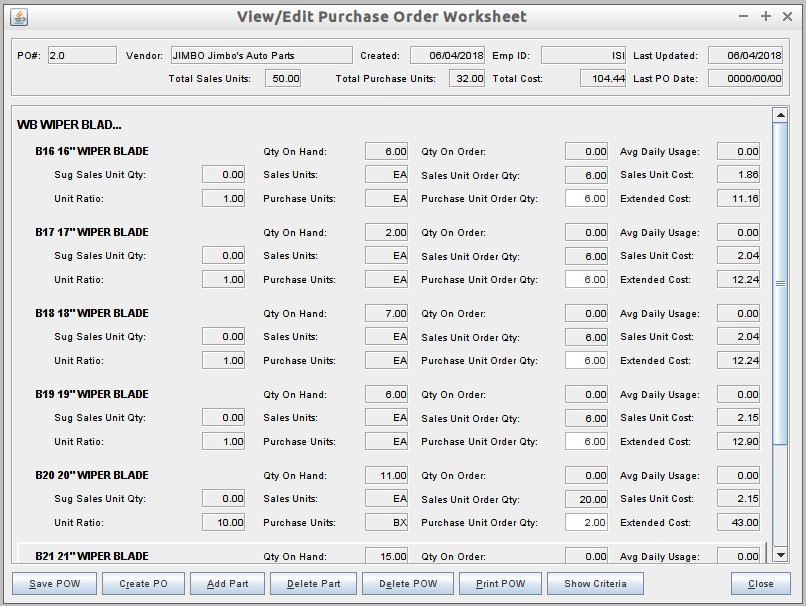
| Note: | Because a Purchase Order must contain at least one part, the Create PO button will be dimmed or “grayed out” until a part is added to the Purchase Order Worksheet. |
PO#
Shows the number that the system automatically assigns to the POW. The same number is assigned to the official Purchase Order that is generated from this Purchase Order Worksheet. (Display only)
Vendor
Shows the vendor associated with this POW that you selected from the Vendor Selection popup. (Display only)
Created
Shows the date this POW was created. (Display only)
Emp ID
Shows the ID of the employee who last modified this POW. (Display only)
Last Updated
Shows the date this POW was last updated. (Display only)
Total Sales Units
Shows the total sales unit order quantity for all parts on this POW. (Display only)
Total Purchase Units
Shows the total purchase units ordered for all parts on this POW. (Display only)
Total Cost
Shows the total cost of this POW. Total Cost is the sum of the Extended Cost of each ordered part on the POW. (Display only)
(Extended Cost * Number of items on PO = Total Cost)
Last PO Date
If this POW was auto-generated, this field shows the last date a PO was created for this vendor. If this POW was manually created, this field will be left blank. (Display only)
Qty on Hand
Shows the quantity in stock using the sales units for each part. This quantity is tracked by the system, and can only be changed by adding stock through the receiving option in the Purchase Order Module, the Receive Inventory screen (1-7-1-1), making adjustments through Enter Inventory Activity screen (1-7-7-6), Adjust Inventory On Hand screen (1-7-7-1), or Adjust Inventory Receipts screen (1-7-1-5). All except the PO Module are described in detail in the Inventory articles. (Display only)
Qty On Order
Shows the quantity currently on order for each part, including Purchase Orders that have not been received and manual entries from the Enter Inventory Activity (1-7-7-6) screen in LubeSoft. When a PO is received in the system, LubeSoft automatically reduces this amount. (Display only)
| Note: | Order quantities entered in the Enter Inventory Activity screen are not modified by receiving Purchase Orders. They must be manually edited in the same screen. |
Avg Daily Usage
Shows the average daily usage of each ordered part based on past sales history. (Display only)
(Average Amount Sold Daily based on Sales History = Average Daily Usage)
Sug Sales Unit Qty
If the displayed POW was auto-generated, this field shows LubeSoft’s suggested quantity to order based on what is currently in inventory and past sales history for this part. If the POW was manually created, then the field displays 0.00. (Display only)
(Average Daily Usage * (Days Until Next Order + Standard Shipping Days) = Suggested Sales Unit Quantity)
Sales Units
Shows the unit at which you sell and inventory the part. For example, if you sell oil by the quart, the sales unit would be QT. Air filters sales unit would be EA for each. (Display only)
Sales Unit Order Qty
Shows the total number of sales units ordered on this POW for each part. For example, if the Sales Units are EA (Sold separately as each) and there are 12 Units per CA (case) and you purchase 2 cases, the Sales Unit Order Quantity would be 24. (Display only)
(Purchase Unit Quantity * Unit Ratio = Sales Unit Order Qty)
Sales Unit Cost
Shows the cost per sales unit on this POW. (Display only)
Unit Ratio
Shows the number of sales units included in the purchase unit for this part. For example, if there are six air filters in a case (Purchase Unit), there are six sales units (EA) per purchase unit (CS), and the units ratio would be 6. If you purchase oil by the gallon (Purchase Unit) but sell it by the quart, there are four sales units (QT) per purchase unit (GA). The unit’s ratio would be 4. (Display only)
| Note: | The Unit Ratio field cannot be 0 (zero). |
Purchase Units
Shows the unit at which you purchase the part. For example, if you buy air filters in cases of six, the purchase unit would be CS. For oil purchased in gallons, the purchase unit would be GA. This information is used in the Receive Inventory function and on the Usage-Based Reorder Report. (Display only)
Extended Cost
Shows the total cost based on the ordered quantity of each item. (Display only)
(Received Quantity * Received Unit Cost = Extended Cost)
Use the following steps to add a part to a POW:
| Note: | This popup will only show you parts that are available from the vendor you assigned to this POW. |
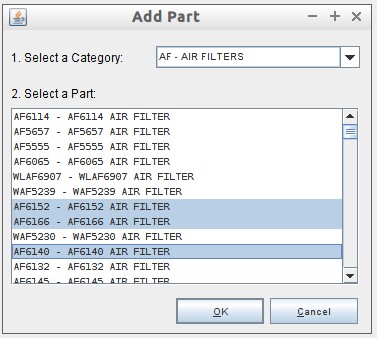
Use the following steps to delete a part from a POW:
| Note: | The Delete Part button will be dimmed, or “grayed” out, until a part is selected.
If the deleted part is the last remaining part under a category, the category will be deleted from the POW. |
Use the following steps to delete a Purchase Order Worksheet:
If this POW was created through the Auto-Generated process, the information used when setting it up can be viewed.
Use the following steps to view the information:
| Note: | If the POW selected was manually created, you receive the following message: This was a manually created Purchase Order Worksheet, so selection criteria is unavailable. |
Use the following steps to print a Purchase Order Worksheet:
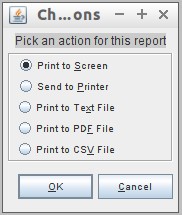
| Note: | These options will print the data that is currently on the screen, not the data that is saved in the system. |
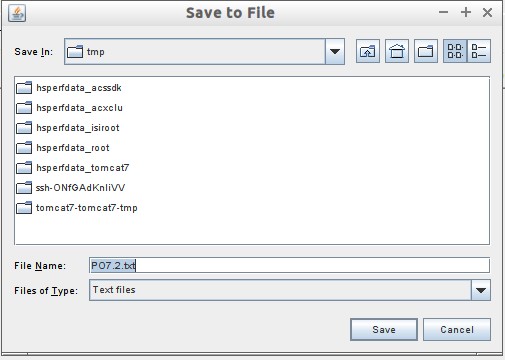
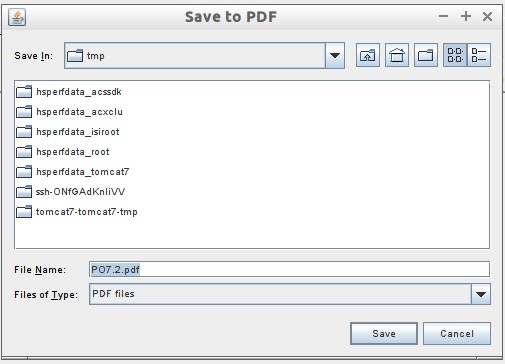
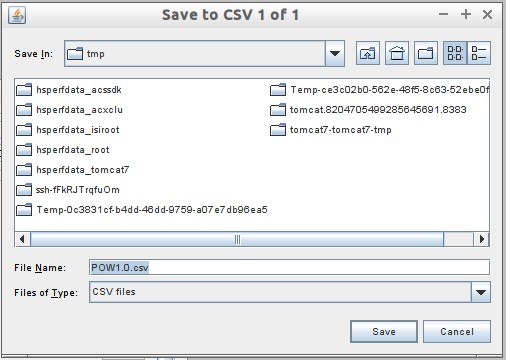
| Note: | The CSV file is limited to 200 lines. If there are more than 200 items on the POW, you will be prompted to save additional CSV files. The first line of the CSV file is a header with the field names. Each line in the CSV file corresponds to an item on the POW and is in the following format: sales organization value, store number, PO number, PO creation date, delivery date, unused field, part number, purchase quantity as an integer, package unit, unused field 2, item description, and unused field 3. |