 |
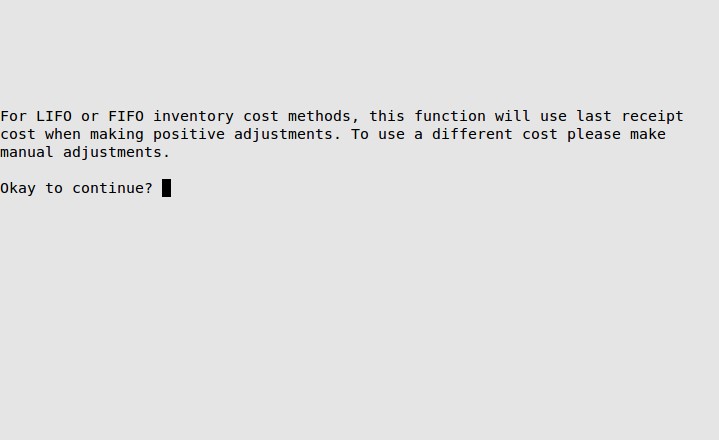
Before you use this option, make sure you realize the implications of automatically adjusting your inventory. Do not run this option more than once or the adjustments will be applied multiple times. |
After taking a physical inventory count, this function allows you to reset all of the on-hand quantities to match the quantities you have entered on the Enter an Inventory Count (1-7-4-2) screen. The accuracy of this method depends on the accuracy of your counts and your data entry. This procedure applies the variances listed on the Inventory Variance Report as adjustments for the Count Date selected. This process replaces the manual adjustments procedure, and although this function is more convenient, be aware that using this option may mask inventory issues that are more obvious and more easily spotted when done manually.
This update will only adjust parts, oils and supplies (types P, L, and S).
Use the following steps to automatically adjust your inventory:
| Field | Definition | ||
| Count Date | Type the date (MM/DD/YYYY) of the inventory count. If you have done your counting over several days, type the range of dates. This field is limited to a six-day range. If you leave this field blank, it will only adjust items that have been counted within the last six days from the current date. If you specify a date more than six days from the current date in the Low field, it will only adjust items within the last six days. If you leave the High field blank, it defaults to the current date.
|
||
| Category | Type the category you want to adjust. Leave blank for all categories. |

| Note: | The inventory adjustments do not take effect until you update your inventory (1-7-4-4 or 1-7-1-4). You must update inventory before you print an Inventory Valuation Report (1-7-4-5 or 1-7-3-4). |