PuTTY is a program that allows you to connect your PC via a secure shell (SSH) connection to a Linux-based computer. You can use PuTTY to connect to your ISI computers and to become another user on the store computer system.
Please keep in mind that PuTTY is third party software. It was not designed by ISI or originally intended for use with ISI computers. It is a program that we utilize, but ISI does not support the functions beyond the setup and connection to your LubeSoft or OIL Central computer.
Installation Instructions for PuTTY
- To start PuTTY, double click on putty.exe. You should see a window appear similar to the one below.
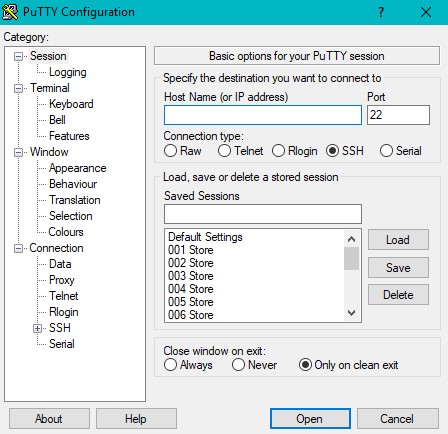
- Click on the Terminal category on the left. Click on the Printer to send ANSI printer output to: drop down menu, near the bottom right side of the window, and select the printer that is connected to the computer you are using to run PuTTY that you would like to setup as your default printer.

- Click on the Keyboard sub-category on the left. If you do not see Keyboard, click the + symbol to the left of the Terminal category, then click on the Keyboard category below it. Click on Linux, under The Function keys and keypad section.

- Click on the Window category on the left. Type 25 under Rows and make sure that 80 is listed
beneath Columns; if it is not, type that in as well.

- Click on the Translation sub-category. If you do not see Translation, click on the + symbol to the left of Window, then click on Translation below it. Select CP437 from the Remote character set: drop down menu.

- Click on the Data sub-category just below Connection. Type in linux to the right of Terminal-type string, using all lowercase letters.

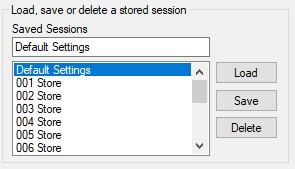
- Click on the Session category. Click on SSH below Protocol. Type Default Settings, exactly as it is written, under Saved Sessions. Be sure to actually type it out – do not select it from below. Click on the Save button. This will save all your settings for future use.
- Now that you have installed and saved all your settings you are ready to connect to a store. In order to connect to a store you need to have the Static IP address that the store is using for its
broadband connection. Type the IP Address below Host Name (or IP address) and click on Open in the lower right corner. (See picture on Step 1)
To save your store connection, type the IP Address. Type what you would like to name the connection under Saved Sessions. It is suggested that you label it the store number or name of the store you are connecting to so that it is easier to remember. Click on the Save button, to save this session. To connect to the store you can either double click on the name or click on it once, then click on the Load and Open buttons.
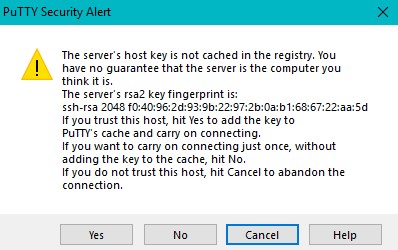
- If this is the first time you have connected to the store from your computer, you may see a message like the one below. If you are connecting to one of the ISI computers, you can trust the connection, so click on Yes. If you are connecting to an unknown computer, use your best judgement.
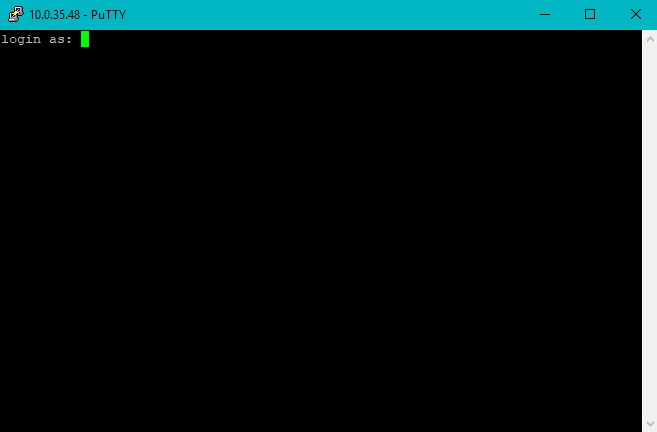
- When you are connected to the ISI computer you will be prompted to log in and will see something similar to the picture below. Log in using the username rtsremote, press [Enter]. You will then be prompted for the password. Type in the password for the rtsremote login and press [Enter]. Please remember that the login and password are case sensitive.
| Note: |
For security reasons, the password does not display on the screen as you type it. If you do not know the password, you must call someone in your organization who does know the password. It is ISI policy to never give out passwords. |
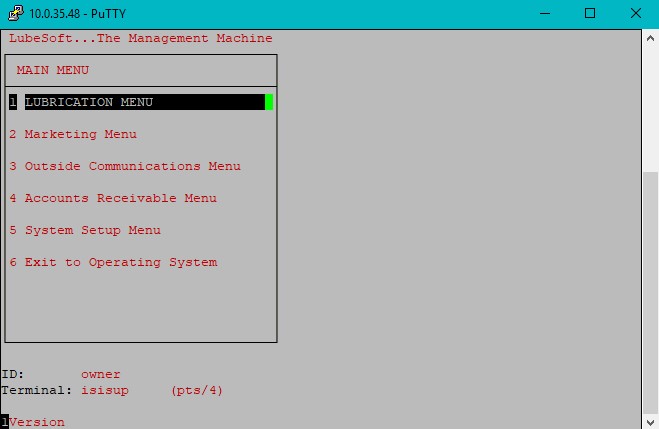
- You will see a screen similar to the picture below. If you are at a $ prompt instead, type pos (all lower case) and press [Enter]. You should see the LubeSoft menu. From here you can navigate through the menus as if you were at the store.
- If you have a laser printer attached to your computer and would like to print reports, follow the instructions below. From the main menu go into Set Up Printer Controls (System Setup Menu – 1). Enter down until the cursor is across from Report Printer and enter in the following as seen below.

- Press [F7] to go to the next screen. Enter the following into your Compress, Uncompress, Enhance Print, and Unenhance Print fields. Then press [F4] to save. You can now print reports to your local laser printer that you selected in Step 2.


![]()


