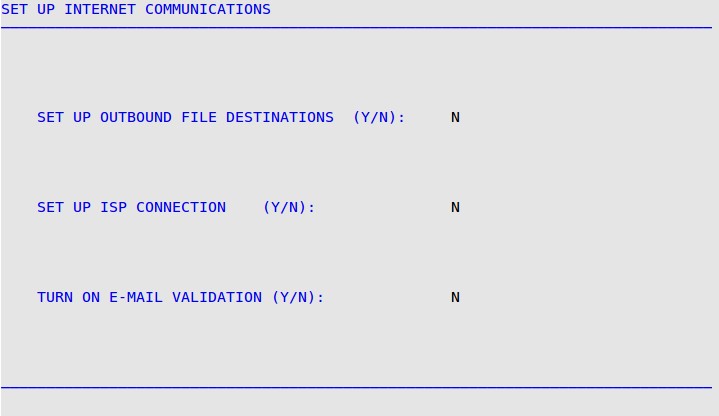
Use the following steps to set up your store to use Internet communications:


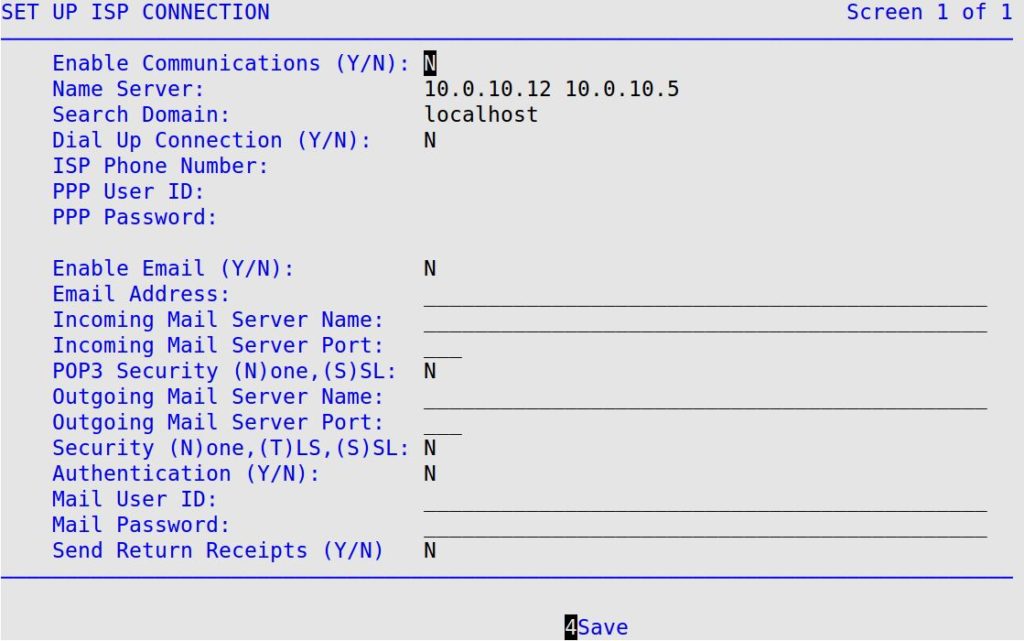
Enable Communications (Y/N):
Type Y or N to indicate whether or not you want to enable communications.
Name Server:
This information is given to you by your ISP. The Name Server is a numerical identification of your server (for example, 173.275.14.1). Each number between the periods can be up to three digits. (Required)
Search Domain:
This information is given to you by your ISP. (Required)
Dial Up Connection(Y/N):
Type Y or N to indicate whether or not you have a dial-up connection. If you type N, you do not need to fill out the next three fields.
ISP Phone Number:
This information is given to you by your ISP. (Required if using dial-up.)
PPP User ID:
This dial up account user ID is given to you by your ISP. (Required if using dial-up.)
PPP Password:
This dial up account password is given to you by your ISP. (Required if using dial-up.)
Enable Email (Y/N):
Type Y or N to indicate whether or not you want to enable your e-mail. If you type Y, your computer will automatically dial out to the Internet during End of Day processing or whenever you choose to initiate communications. If you type N, you do not need to fill out the following fields. (Required)
Email Address:
Enter the e-mail address at which your location will receive their e-mail files containing O.I.L. information. This address must be a dedicated e-mail account to receive ISI mail. All non-ISI mail sent to this address will be deleted. (Required)
Incoming Mail Server Name:
This information is given to you by your ISP. (Required)
Outgoing Mail Server Name:
This information is given to you by your ISP. (Required)
SMTP Authentication (Y/N):
If your outgoing mail server requires SMTP Authentication, type Y. If not, type N. This information is given to you by your ISP.
Mail User ID:
This information is given to you by your ISP. (Required)
Mail Password:
This information is given to you by your ISP. (Required)
Send Return Receipts (Y/N):
Type Y or N to indicate whether or not you want send return receipts.