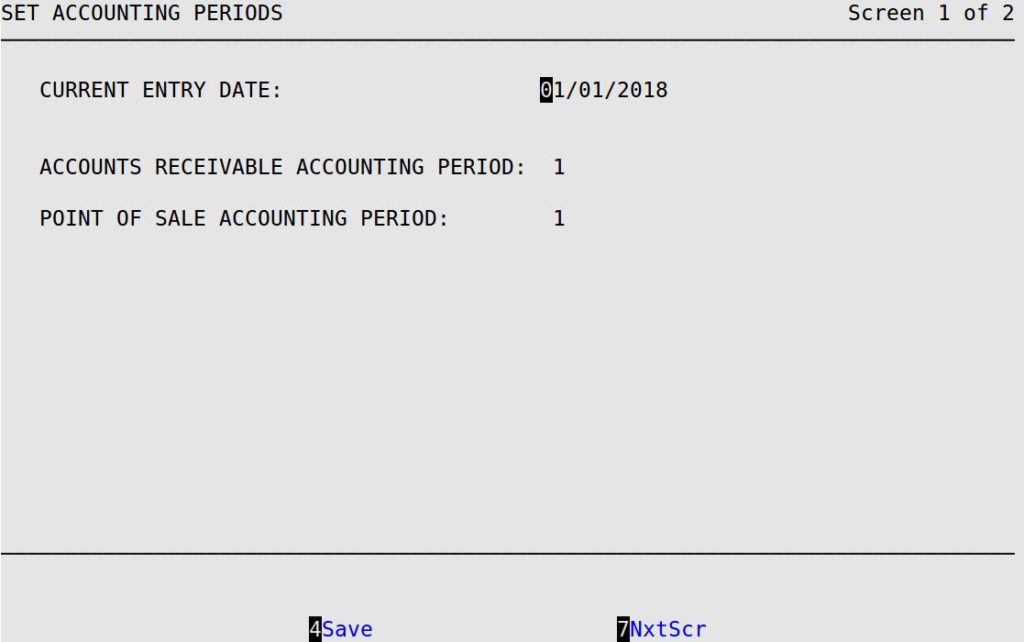
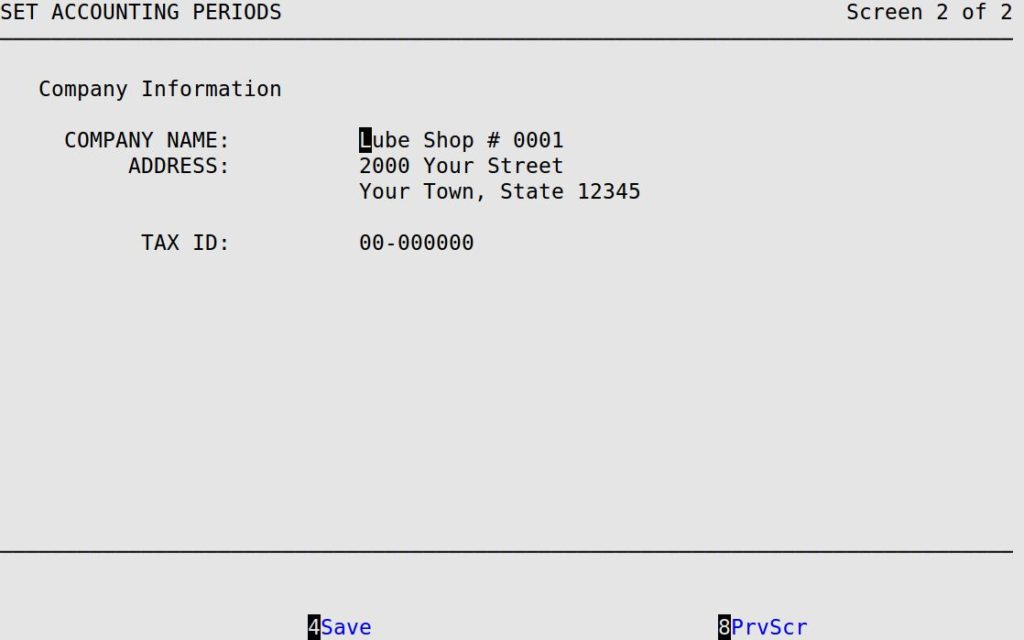
This option allows you to set up information specific to your store. The Set Accounting Periods screen contains the entry date and the accounting periods for each of the modules. The proper period for all modules can be set on this screen. You should check this screen before you begin to enter data into the modules.
Use the following steps to set up your company information:

Use the following field definitions to determine which fields to fill in:
Accounts Receivable Accounting Period
This period represents the current Accounts Receivable period.
Point Of Sale Accounting Period
This field is important if you use an automatic interface to an accounting system. Accounting information transferred to your accounting software is attached (or posted) to this period.

| Note: | If you press [F7] to move to the next screen, your changes will not be lost. However, you must press [F4] to save your changes before you press [Esc] [Esc]. Saving changes on one screen in a set of screens automatically saves changes to all screens in the set. A set of screens has the words Screen – of – in the upper right corner (see above). |