This article is only relevant if you have Linux O.I.L. sites.
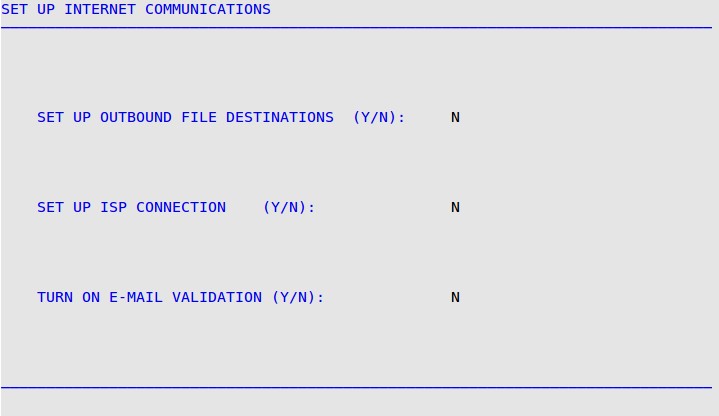
Use the following steps to set up your store to ensure that your QuickBooks files are saved to the correct destination:

| Note: | The Set Up ISP Connection and Detect Modem fields are not used in this set up. |

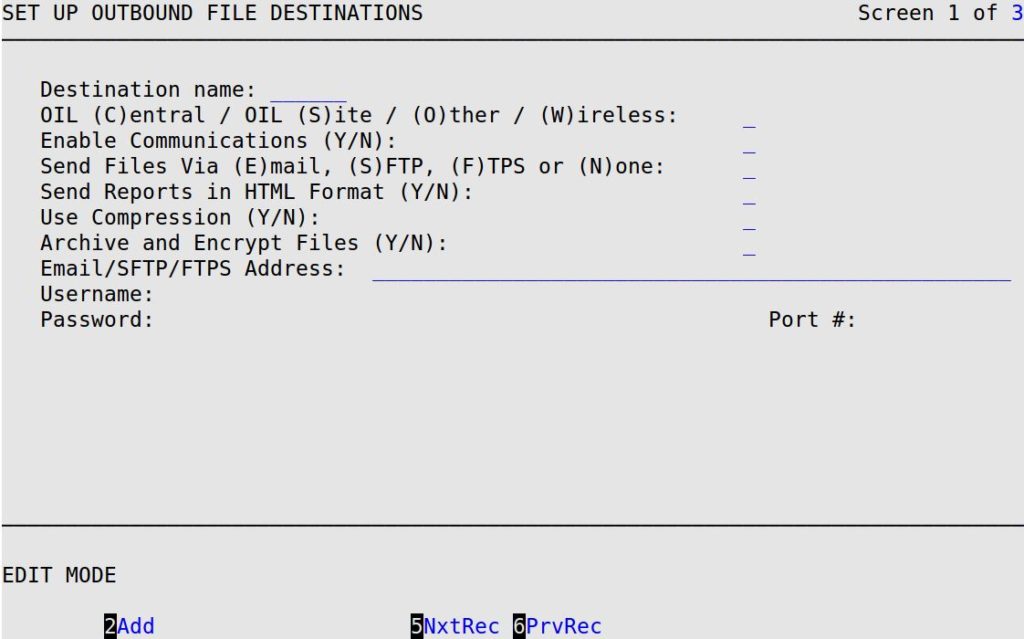
Destination name
Type a 1- to 6-character name that will be assigned as the name of the file destination. Each destination name must be unique so that each recipient can receive different reports and files. For example, you might want to use a somewhat generic name such as Files.
OIL (C)entral / OIL (S)ite / (O)ther / (W)ireless field
Type O to indicate that the files are being sent to a location other than an O.I.L. central or site.
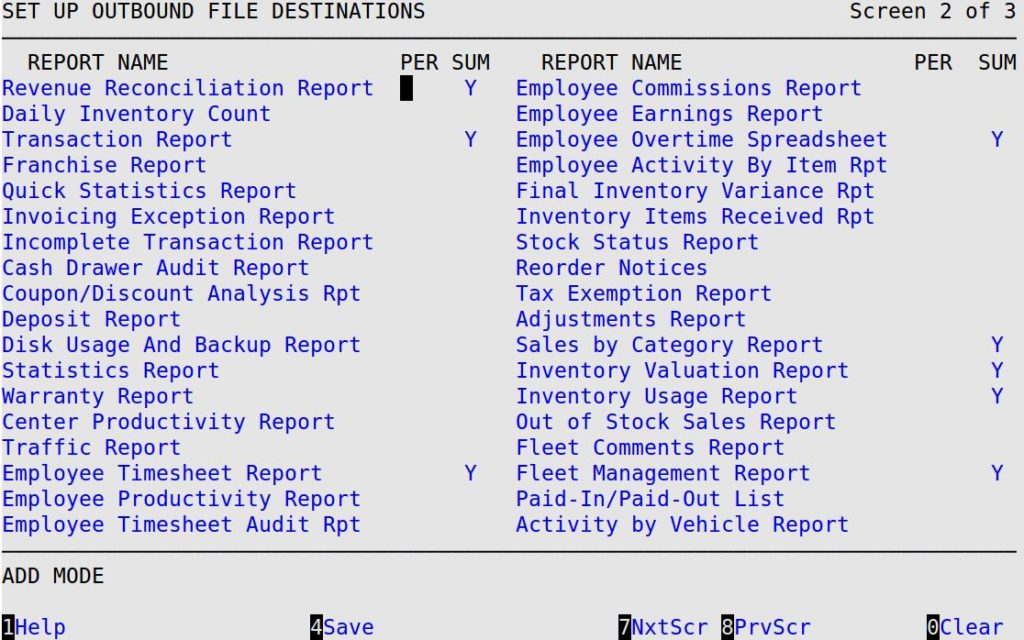
| Note: | You receive the informational message A non Central / Site destination will be unable to automatically process any files. All files and reports will need to be managed manually at the destination. Fill in the following fields as noted then press [F7] to continue to the next screen. |
Enable Communications
Type Y to activate Data Sharing information to be sent to the location shown in the Destination name field.
Send Files Via Email
Type N to tell the system that you do not want the files sent via e-mail.
Send Reports in HTML Format
Type N to disable HTML format.
Use Compression
Type N to disable compression.
Archive and Encrypt Files
Type N to disable file encryption.
Email/SFTP/FTPS Address
Leave this field blank.


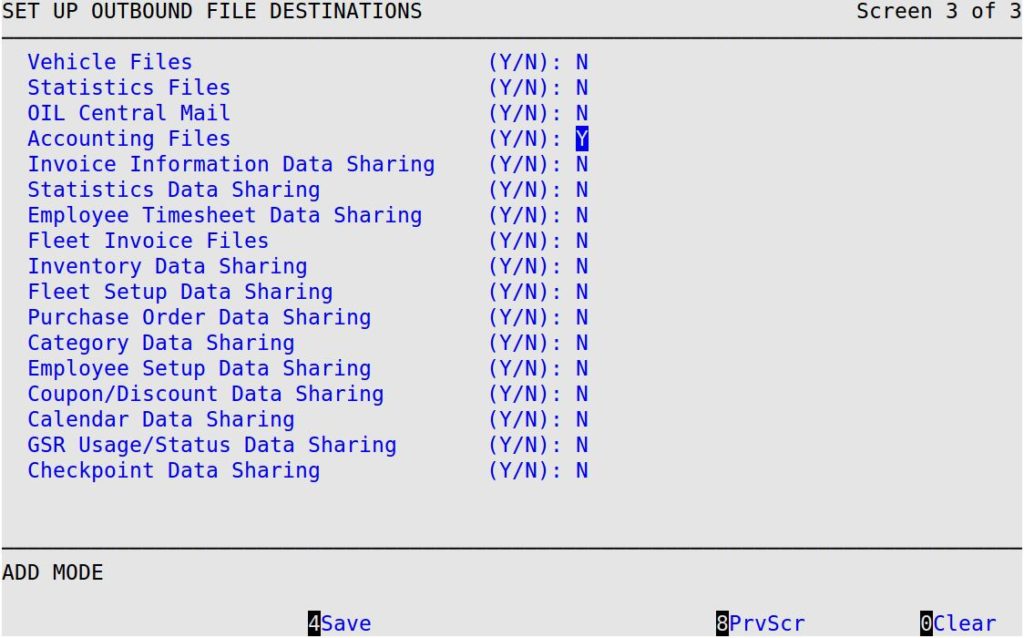
| Note: | For more information about the screens and fields in this section, see the article Setting Up O.I.L Reports. |