The Purchase Order (PO) Module is designed differently than what you are used to using in LubeSoft®. The graphical design of the PO Module software makes many tasks easy to learn, but there are still a few points that will help you use the PO Module to its fullest capabilities.
You can access the different functions of the PO Module by clicking on the corresponding menu bar heading at the top of a screen. The PO Module menu bar headings consist of a title and a list of choices, which access different areas of the system. For example, when the POW menu bar heading is clicked, it displays the options Create Manual POW, Create Auto-Generated POW, and View/Edit POW (see screenshot below).

Because graphical screens are a large part of the PO Module functionality in LubeSoft®, the ability to feel comfortable with them is an important aspect of learning and using the system. In order to allow you to move around the system easily, many screens have the same options throughout the system. These options are explained below.
Dropdown
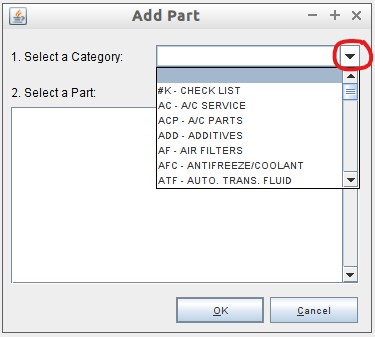
The dropdown list shows several options. To access the dropdown list, click the down arrow on the right side of the field (see screenshot below, circled in red). Click on the ↑ or ↓ arrows to scroll up or down the list. You can also type the first few letters or numbers of a choice and the list will automatically scroll to the closest match.

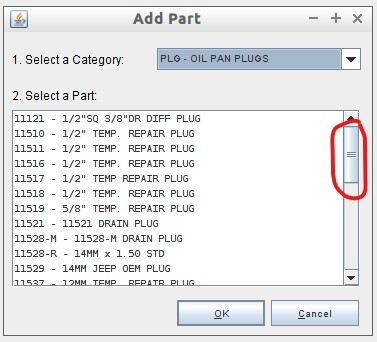
You can move through a list by clicking on the scroll bar (see screenshot below, circled in red) and holding down the left mouse button while you slide the bar up or down to move quickly from one part of the list to another.

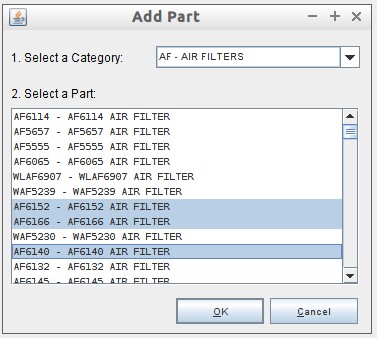
To select more than one part, press [Ctrl] while selecting the parts you need (see screenshot below). To select a group of parts, select the first part then hold [Shift] and click on the last part.

There are two ways to select an item using a mouse.
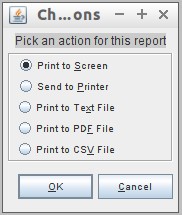
The radio button is a field that you select by clicking on it. In the PO Module it is usually used when choosing an option. In a list of radio button choices, you can only select one (see screenshot below).
