Overview
This document details the steps for completing a store closing or forcing a closed state through the Terminal program. This may be necessary if the store’s closing process is interrupted by a power outage, lost network connection, or software update failure.
Steps for Forcing a Closed State
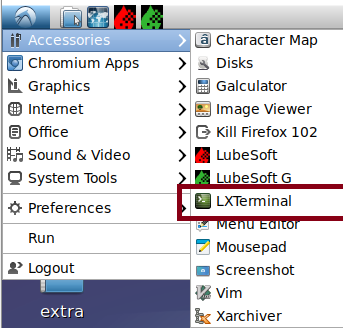
- Open a Terminal window by pressing [ctrl]+[alt]+[T] on the keyboard, or by clicking on the Menu button (blue swoop in the upper-left corner of the image below) and selecting Accessories > LXTerminal.
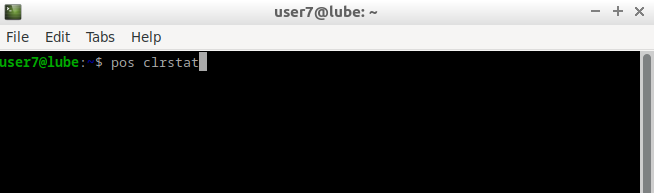
- Within the Terminal window, enter pos clrstat and press [Enter].
- In the “LAST DATE” field, input the date of the closing in a DD/MM/YYYY format and press [Enter].
- In the bottom field, enter the closing type(s) for the date of that closing. This will always include a “D” for a Daily closing, but may also include a “W” (Weekly), “P” (Payroll), “M” (Monthly), “Q” (Quarterly) or “Y” (Yearly). These period codes should match the closing types as set up in the LubeSoft calendar (menu 1-6-4) or found in the calendar setups in ISI Central Setups. Press [Enter] after each closing type, and press [Enter] through any additional spaces

- After returning to the Terminal prompt, enter pos fixme and press [Enter].

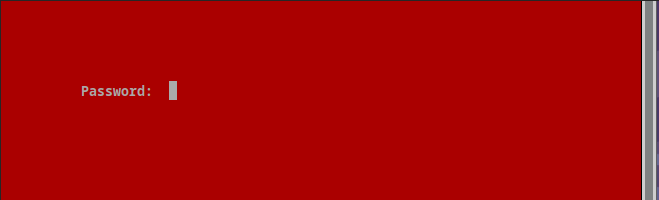
- At the “Password” prompt, enter the 5-digit password provided by ISI Support and press [Enter].
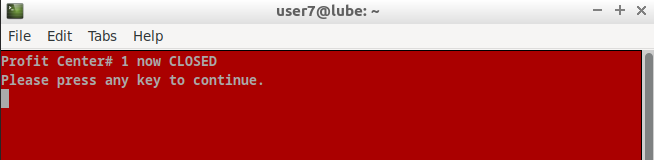
- The Terminal window should display the message, “Profit Center# 1 is now CLOSED”. Press [Enter] to return to the Terminal prompt and close the Terminal window by clicking on the “X” in the upper right corner.
- Open a new LubeSoft window and log in.
- Open the store normally.

Note: Ensure the “INVOICE DATE” field matches the current date before continuing with the opening.