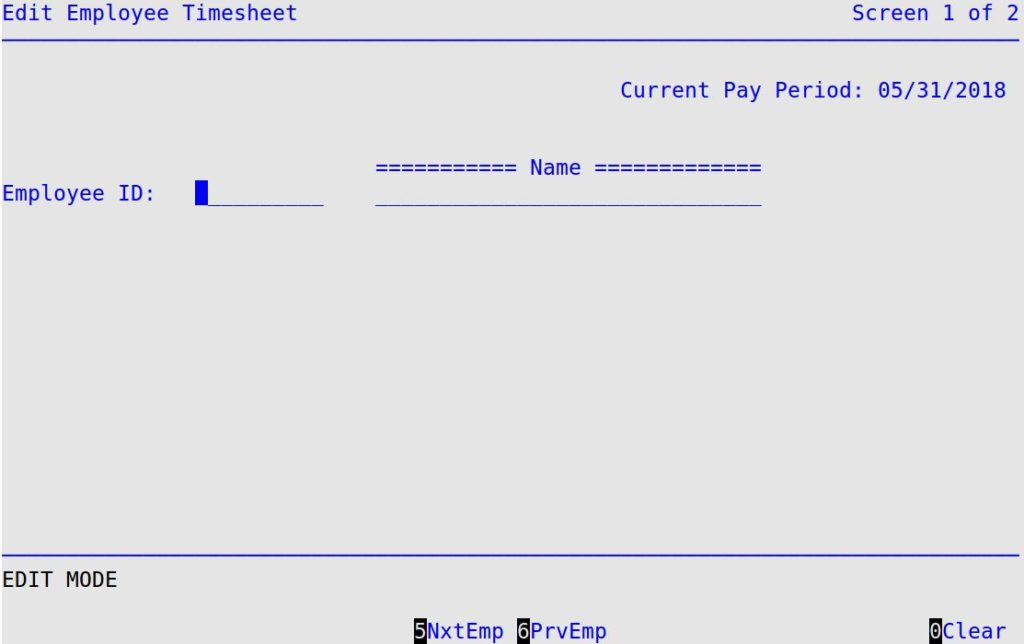
When employees clock in and out, the information is stored in an employee timesheet. This screen allows you to edit timesheets for your employees. You can edit timesheets for the current and previous pay periods only. Employees do not have to be clocked out in order for you to change their timesheet.
Use the following steps to edit employee timesheets:
| Note: | If your calendar is not set up properly, you cannot enter this option. If you receive the Calendar needs a Previous Period message at this point, you must go to the Set Up Calendar (1-6-4) to set it correctly. |


| Note: | If you press [F7] to move to the next screen, your changes are not lost. However, you must press [F4] to save your changes before you press [Esc] [Esc]. Saving changes on one screen in a set of screens automatically saves changes to all screens in the set. A set of screens has the words Screen – of – in the upper right corner (see above). |
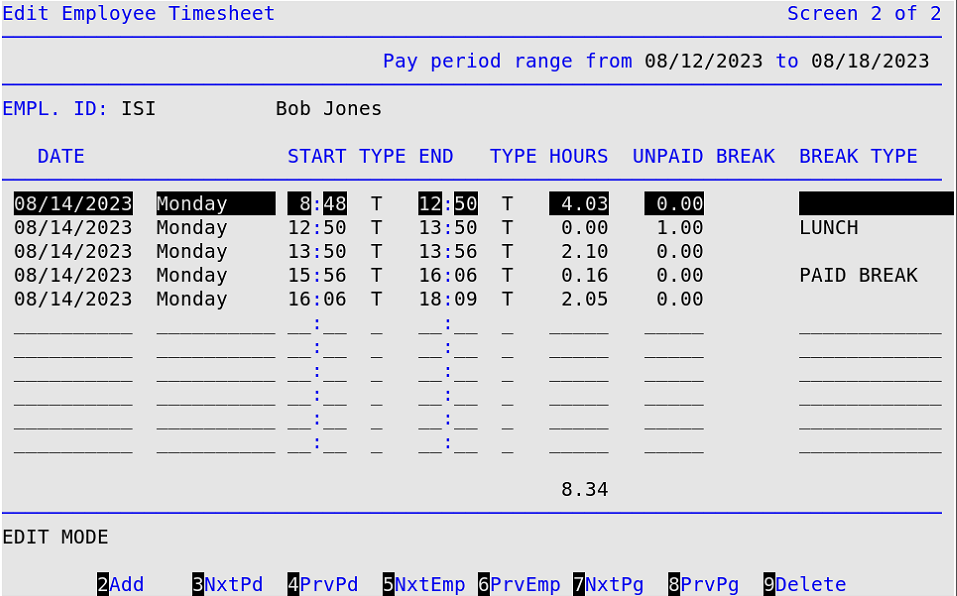
Date
Type the date (MM/DD/YYYY) you want to add or edit. The day must be within the pay period range listed at the top of the screen. (Required)
Start
Fill in the time (using a 24-hour clock) the employee clocked in or started their shift or break. (Required)
Type
End
Fill in the time (using a 24-hour clock) the employee clocked out or ended their shift or break. This must be at least one minute after the time the employee clocked in. (Required)
Type
Hours
Total hours worked during the time segment. The unpaid break time is subtracted from the total hours worked for the time segment. (Display only)
Unpaid Break
Specify the length of the employee’s break. Specify in tenths or hundredths of hours (for example, 6 minutes is .1 hours). Time entered in the unpaid break column is always unpaid.
| Note: | Only use this field if you use the automatic break functionality set up on screen 3 of the Center Control File. Do not use this field if your employees clock in and out for their breaks. |
Break Type
If this is a break entry, press [F1] while in this field to display a pop-up which will allow you to specify the type of the employee’s break. Enter either Lunch (unpaid), or Paid Break (paid). Leaving the space blank indicates a regular shift.