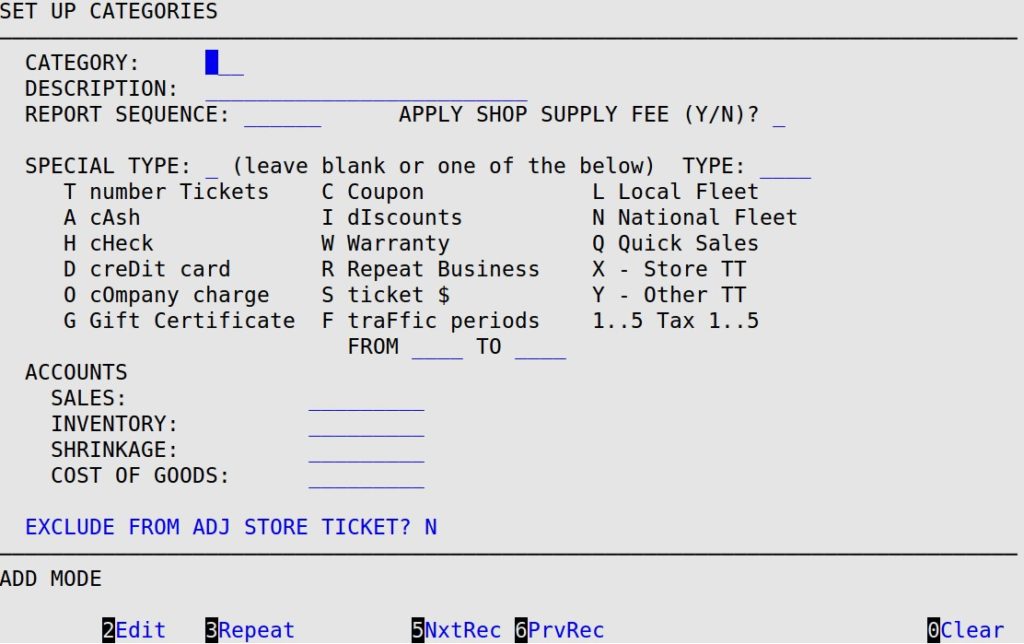
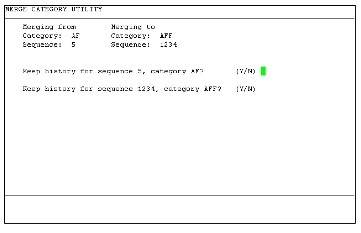
This screen allows you to change or merge categories after the initial setup. For a list of suggested categories, see the Categories article.
Use the following steps to change an existing category or merge two existing categories:
Merging these categories is permanent and cannot be undone. Do not merge categories if you are not sure that they should be merged.

| Note: | When an existing category is changed, all inventory files and statistics associated with the category are changed. When two existing categories are merged, all inventory files and statistics associated with the categories are changed. |
| Note: | Special type categories cannot be merged. |

The Merge Category Utility screen gives you the option to delete or retain the histories for sequence numbers associated with category codes. To retain the history for a sequence number and category code, type Y. To delete the history for a sequence number and category code, type N.
| Note: | You will receive one of the following four messages depending on which records you select to retain and/or delete. The sequence numbers referenced in the messages below are examples. |
| Option 1: | If you type Y to retain both histories, you will receive the following message: You have chosen to merge the history for category AF, sequence number 5 with the history for category AFF, sequence number 1234. Are you sure? (Y/N). |
| Option 2: | If you type N to delete both histories, you will receive the following message: You have chosen to delete the histories for category AF, sequence number 5 and category AFF, sequence number 1234. Category AFF will still be associated with sequence number 1234. Are you sure? (Y/N). |
| Option 3: | If you type Y to retain the history for the old category code and N to retain the history for the new category code, you will receive the following message: You have chosen to delete the history for category AFF, sequence number 1234 and move the history for category AF, sequence number 5 to category AFF, sequence number 1234. Are you sure? (Y/N). |
| Option 4: | If you type N to retain the history for the old category code and Y to retain the history for the new category code, you will receive the following message: You have chosen to delete the history for category AF, sequence number 5 and keep the history for category AFF, sequence number 1234. Category AFF will still be associated with sequence number 1234. Are you sure? (Y/N). |