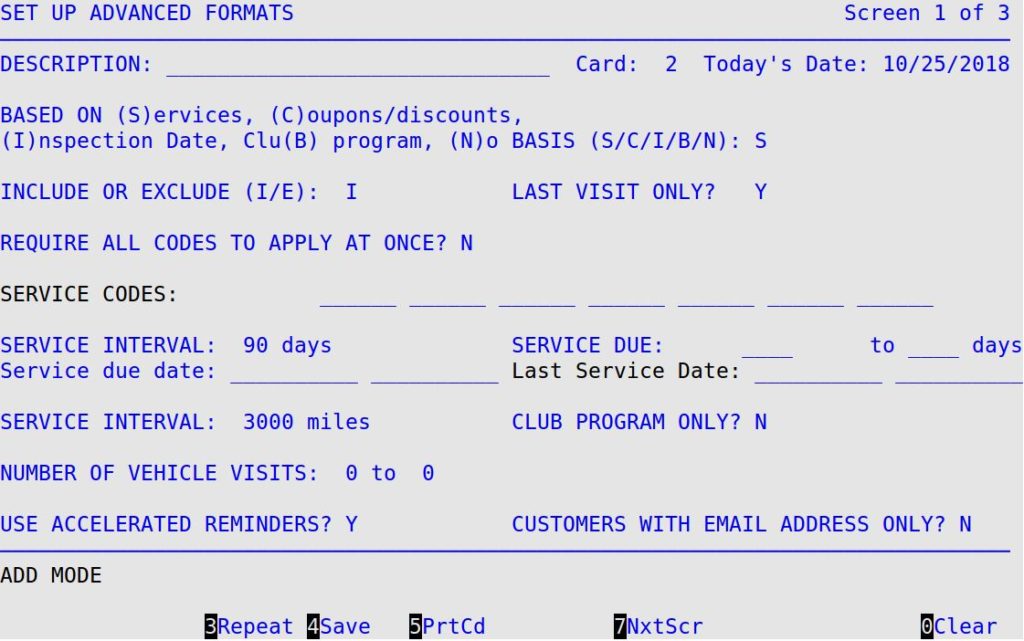
From the Manually Controlled Printing option (Marketing-1), you have the opportunity to change the postcard search criteria for postcards in the advanced format. The following section explains how to change your search criteria.
With the advanced postcard option, you are allowed to make changes to the current set up of the postcard you have selected to print. You cannot change the postcard text from this screen, only the criteria.
Use the following steps to print advanced format postcards:
- After you type Y at the Is this correct? prompt, you receive screen 1 of the Set Up Advanced Formats option.
| Note: |
If necessary, make changes to the fields on this screen. This screen is defined in the Setting Up Postcard Contents – Advanced article. This article also defines the fields in steps 2 and 3 below. |
- To go to screen 2 of the Set Up Advanced Formats option, press [F7]. Make any necessary changes.
- To go to screen 3 of the Set Up Advanced Formats option, press [F7]. Make any necessary changes.
- When you have finished making changes to your selection criteria, press [F7] to start the printing process.
- You see messages similar to the following:
Selecting vehicles for printing … please wait.
904 records read 213 selected 7 incomplete addresses
| Note: |
If a customer record does not have the first line of address, the ZIP/postal code or the state abbreviation filled in, it is marked as an incomplete address. Postcards that contain incomplete addresses do not print. You will have an option after the postcards print to print a report containing the addresses that the system considers to be incomplete. |
- When the records are selected, you receive a screen similar to the following.
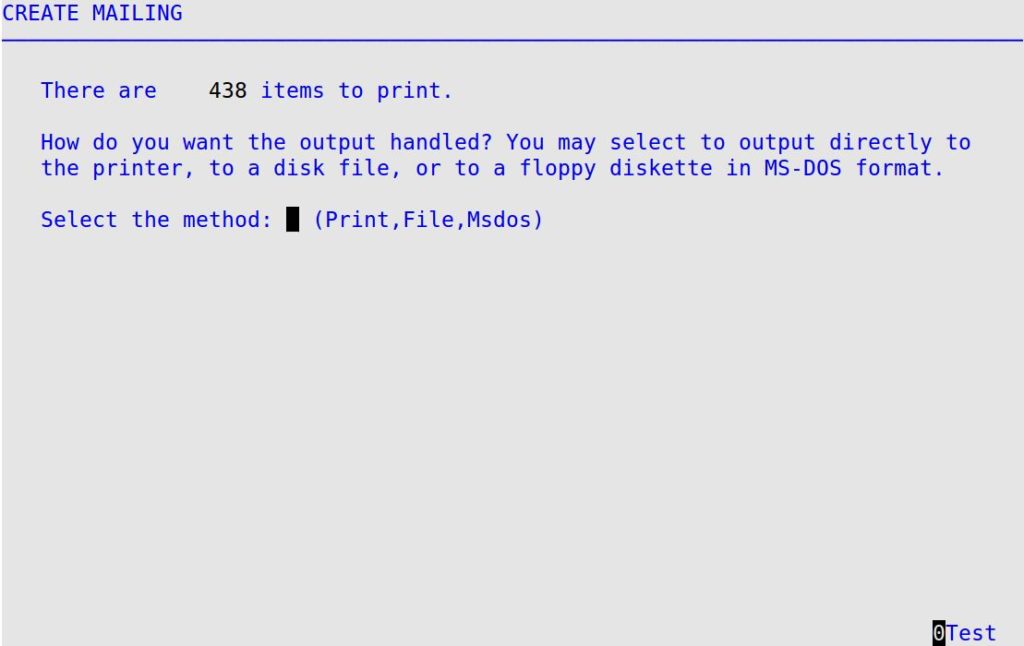
| Note: |
To test the alignment and format of your postcards, press [F10]. You receive the following prompt: How many cards do you wish to produce (1-5)? Type the number of test postcards you want to print, and press [Enter] to print out sample postcards with X’s instead of data where you have the replacement codes. For example, if you have <NA> for the customer’s first and last name, the sample postcard prints XXXXXXXXXXXXXXXXXXXXXX instead. |
- This screen explains how many items you have to print. Because you have several choices on this screen, each option is explained in a separate set of instructions. Use the list below to determine the instructions you need.
| To |
Type: |
For more information, see: |
| Print the selected postcards |
P |
Printing Selected Postcards |
| Send the selected postcards to a file on your hard disk |
F |
Sending Selected Postcards to File |
| Send the selected postcards to a file in MS-DOS format |
M |
Sending Selected Postcards to File |
Printing Selected Postcards
When you have approved the number of postcards selected in the Manually Controlled Printing option (Marketing-1), you are ready to print the postcards.
Use the following steps to print your postcards:
- At the Select a Method field on the Create Mailing screen, type P and press [Enter] to receive the following screen.
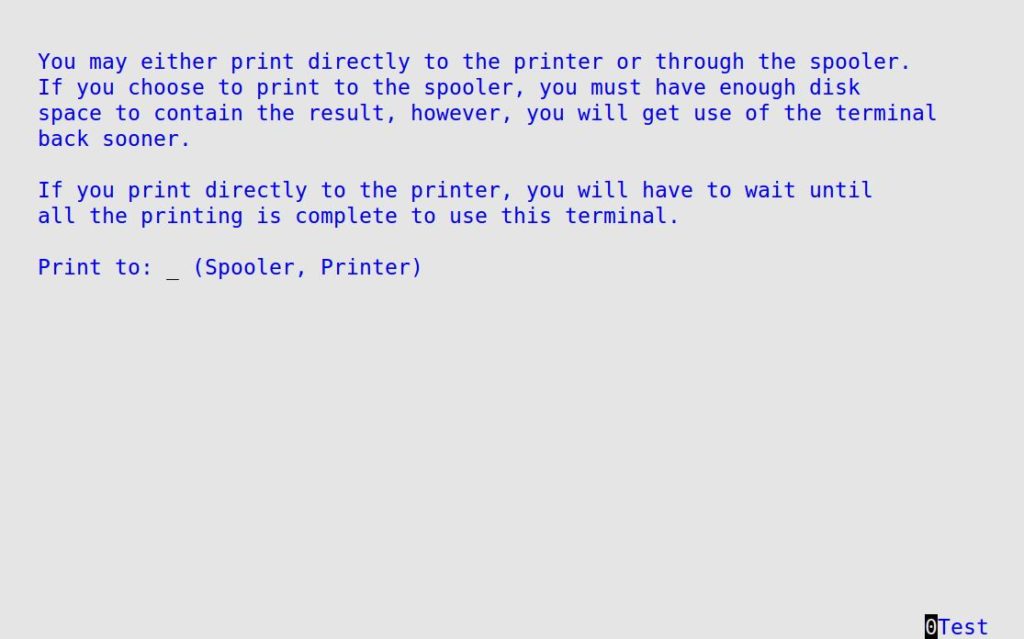
| Note: |
To test the alignment and format of your postcards, press [F10]. You receive the following prompt: How many cards do you wish to produce (1-5)? Type the number of test postcards you want to print, and press [Enter] to print out sample postcards with X‘s instead of data where you have the replacement codes. For example, if you have <NA> for the customer’s first and last name, the sample postcard prints XXXXXXXXXXXXXXXXXXXXXX instead. The replacement codes are replaced with the maximum number of X’s that the given code will generate. |
- Decide whether you want to print to the spooler or to the printer, both of which are explained on the screen above.
- Type S to print to the spooler or P to print directly to the printer, and press [Enter]
- You receive a Printing, Please Wait message. When this message disappears, the printing is complete.
- You receive a screen similar to the following, containing a breakdown of the cards you just printed by ZIP/postal code.
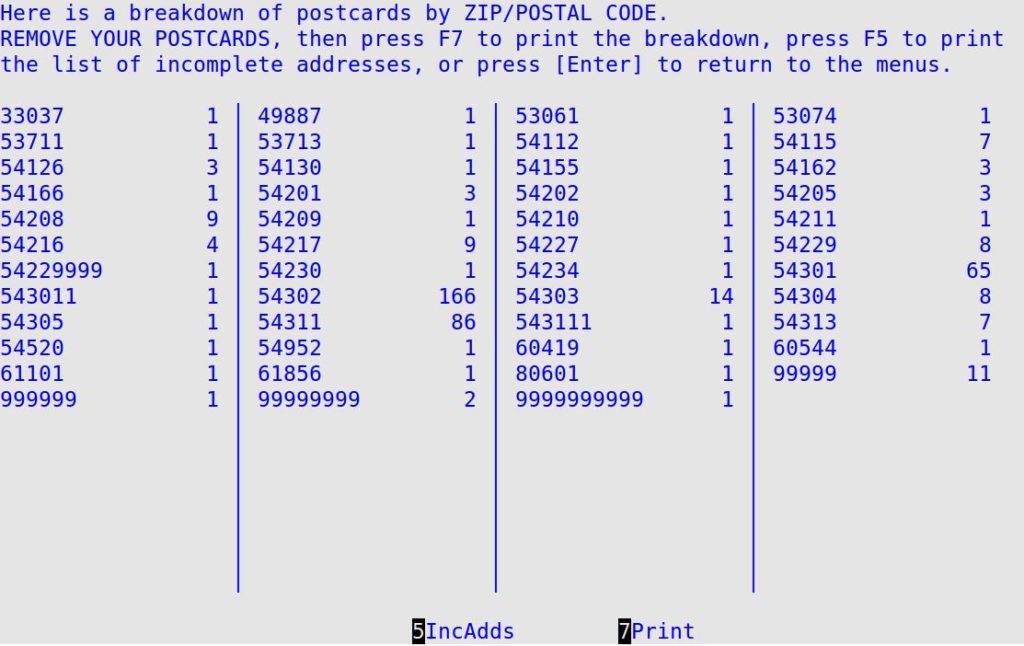
- Do one of the following:
- To print a list of the addresses that the system considers “unmailable,” press [F5]. This list gives you the ability to clean up those addresses if you want.
- To print a complete postcard breakdown by ZIP/postal code, press [F7]. It prints on a report called the Postcard Count by ZIP/Postal Code Report, which is described in its own article. The first 76 ZIP/postal codes show on the screen, but all of the codes print on the report.
- To return to the Marketing Menu, press [Enter].
Interrupting Printing from the Manually Controlled Printing Option
Sometimes you may intend to interrupt the printing, and at other times you might accidentally press a key that interrupts the printing. In either case, the system stops printing and brings up a menu with three choices. These choices are explained in the following instructions.
- When the Printing, Please Wait message is on the screen, press any key to receive the following menu.
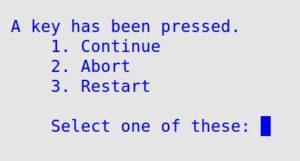
- Select one of the options and press [Enter].
- 1 – The postcards continue the printing process.
- 2 – The printing process ends.
- 3 – The system prompts you for a starting point for printing. Go to step 3.
| Note: |
You cannot press [Esc] [Esc] to continue processing. You must select one of the three options. |
- If you select option 3, you receive the message Do you want to start at the beginning?
To start printing where you left off, type N to receive the following box.
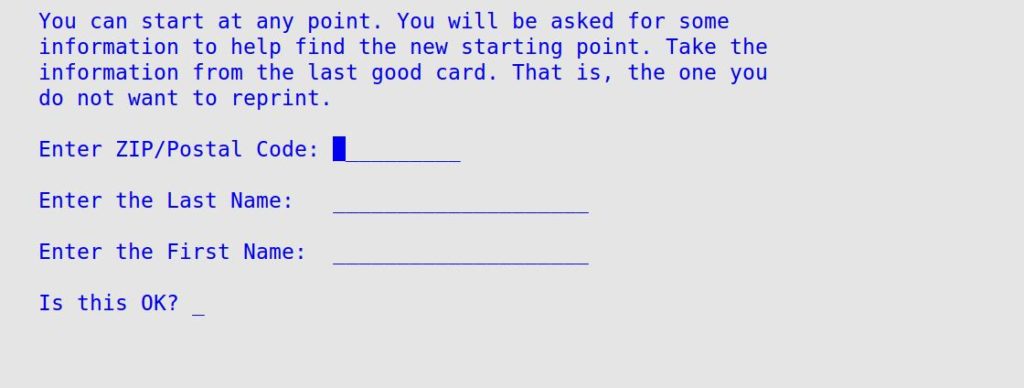
- Fill in the ZIP/postal code and the last and first name from the last good card that printed.
| Note: |
The ZIP/Postal Code field accommodates ZIP+4 codes. |
- Type Y at the Is this ok? prompt and press [Enter] to restart printing from the next card.
Sending Selected Postcards to File
From the Manually Controlled Printing option (Marketing-1), you have the opportunity to send postcards to a file. The following list contains several reasons why this option would be used.
- You could print your postcards later on a different printer or when the system is not busy.
- You could look at the output before you print the postcards. If you find that the mailing was not what you had intended, you save both time and paper.
- You could consolidate the files from several stores into one file. At the central office, for example, you could sort the postcards by ZIP/postal code to save on postage. You could also avoid duplicate mailings.
Use the following steps to send the selected postcards to a file:
| Note: |
This function is not used to create a disk that can be used with the Print From ASCII List function. For instructions on how to print this file later, call ISI Customer Support. |
- In the Select a Method field on the Create Mailing screen, type F and press [Enter].
- You receive the following prompt: Enter filename to output.
- Type the name of the file to which you want to output postcards and press [Enter].
- You receive the Preparing… Please Wait message. When this message disappears, the postcards have been sent to file, which is in the /tmp directory.
- You receive a screen similar to the following, which contain a breakdown of the postcards you just sent to file by ZIP/postal code.

- Do one of the following:
- To print a list of the addresses that the system considers incomplete, press [F5]. This list gives you the ability to clean up those addresses if you want.
- To print a complete postcard breakdown by ZIP/postal code, press [F7]. It prints on a report called the Postcard Count by ZIP/Postal Code Report, which is described in its own article. The first 76 ZIP/postal codes show on the screen, but all of the codes print on the report.
- To return to the Marketing Menu, press [Enter].
Adding To or Reducing the Number of Selected Postcards
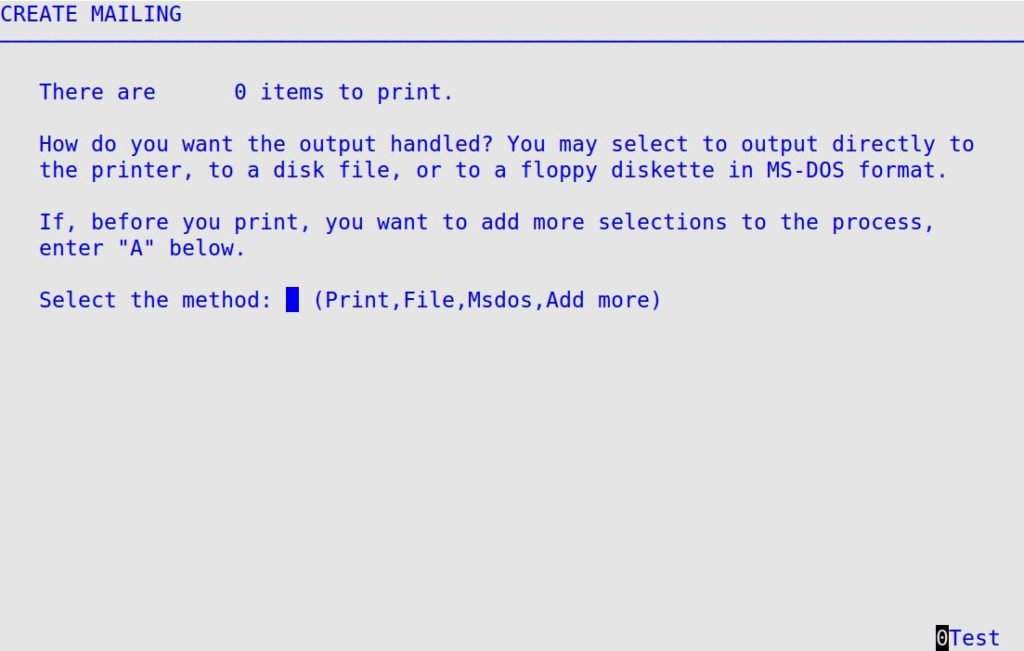
From the Manually Controlled Printing option (Marketing-1), you have the opportunity to increase or reduce the number of postcards that you want to print. One reason that Marketing gives you the There are — items to print message after the records are selected, is to allow you to change the number of records you have selected. Although the option for the Select the Method field is called Add more, it really is designed to add to or reduce the number of items selected to print. The add more refers to adding more selection criteria. This feature is available for advanced postcards only.
The following list contains several examples of when you might want or need to use the Add/Reduce feature.
- If you have a budget for postage, you can use the Add/Reduce feature to modify the number of items selected to be closer to your projected mailing.
- If you want to mail to owners of all Chryslers, Plymouths, and Dodges, you can select all Chryslers, then use the add feature to select all Plymouths as well, and finally use the add feature one more time to select all Dodges also.
- If the number of items selected is unusually high, you can use the Add/Reduce feature to double check your selection criteria.
Use the following steps to change the number of items selected to print:
| Note: |
This option is only available for advanced format postcards. |
- At the Select the Method field on the Create Mailing screen, type A and press [Enter] to receive the Create Mailing screen with the following message.

- In the Add or Reduce field, do one of the following:
- If you want to select additional items, type A and press [Enter].
- If you want to reduce the number of items selected, type R and press [Enter].
- You return to the Set Up Advanced Formats screens. On these screens, change your selection criteria.
- If you typed A to add more items, make your selection criteria less specific. For example, indicate fewer service codes or a bigger date range.
- If you typed R to reduce the number of items, make your selection criteria more specific. For example, indicate a smaller ZIP/postal code range or require all codes to apply for one service.
- When you have finished changing your selection criteria, press [F7] to start the selection process.
- When you are satisfied with the number of items selected, continue with the printing process.
Printing Tips for Advanced Postcards
The postcard process is designed to be a regular (weekly, monthly, or semimonthly) process of mailing reminders to customers who are due for a specified service during the next week or month. However, you may sometimes get behind in your mailings. For example, if you are five weeks behind in your postcard mailing to customers who are due for their 90-day full service, you would type 1 – 35 in the Service Due field and 125 in the Service Interval field. The number 35 days comes from 5 weeks times 7 days in a week. The number 125 comes from 90 + 35 days. The system goes through the following process to determine which postcards to print:
- The system begins with the current date, for example, August 2.
- Then it looks back 125 days to March 31.
- The system then begins to print postcards for all customers who had a full service on March 31.
- The system continues printing for all customers who had a full service through April 30, then stops. The result is that the system prints postcards for all customers who have been due for service during the past five weeks. You are now caught up on your postcard mailing, and you can resume next week with the normal process. For information on the standard process, see the Setting Up Postcard Contents article.
