Use the following instructions to add, remove, or update task setups within ISI Central.
- Access ISI Central Setups by logging into https://www.isicentral.net with your username and password.
- From the main logged in screen, click on the “Setups” icon.
- Within the left side menu options, click on “Center Control File”.
- Select a store from the supplied list that you want to edit the tax setups for.
- The fourth section from the top contains the currently set up taxes.

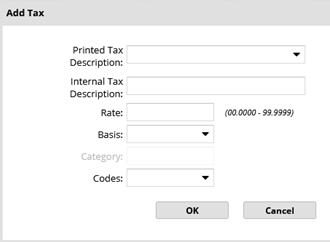
- To add a new tax, click the “Add…” button, fill in the required fields, and click “OK”.
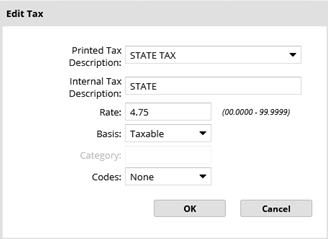
- To edit an existing tax, click on the specific tax to select it. The “Edit…” button will become available once a tax is selected.
- Click the, “Edit…” button to edit the current tax set up.
- Once all taxes have been reviewed for accuracy and changed as needed, scroll down to the bottom of the Center Control File setup page and add a checkmark to the, “Make Available Now” selection box.
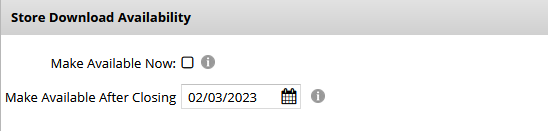
- Click on the red “Save” button below the “Store Download Availability” section to save and immediately send the changes to the store.
- The store will pick up and process the changes within 5 minutes.
- After saving the changes for the first store, the screen will display the full list of store locations where another store can be accessed, changed as needed, saved, and sent.