
How to Manage and Set Up Two-Factor Authentication within ISI Central
Purpose of Document
How to set up and enable Two-Factor Authentication also known as 2FA. This increases the security and prevention of unauthorized access to ISI Central Reporting and Setups. This is especially important for ISI Central Setups, as tampering with the information there can adversely affect the operations of the store. 2FA is set up on a per organization basis and will globally affect all users in that organization.
Setting up Two-Factor Authentication
For the purposes of this documentation, we are using a test organization.

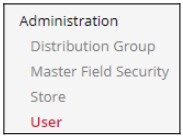
2. Click on the “User” link under “Administration”.
3. Search for the user using one or more of the fields within the search page.
4. Click on the user listed in the search results.
5. The page will load to the user edit screen.
6. Click on the “Modify” button under the “Organization Reports Permission”.

7. This will display the “Manage Organization Membership” window.
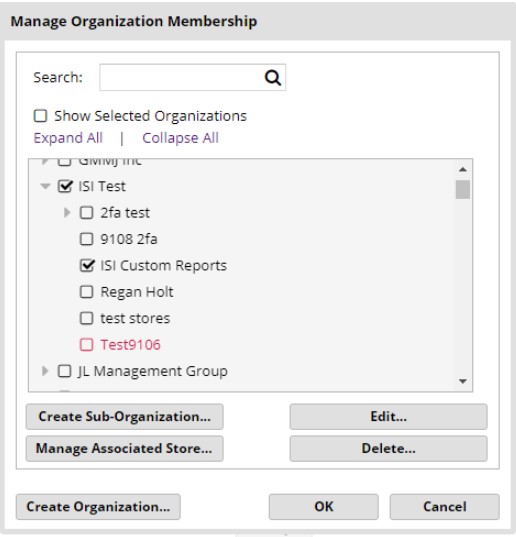
8. Click on the organization name you wish to edit (not the check box). The organization name will turn red when clicked on.
9. Click on the “Edit…” button.
10. Place a check mark in the Two-Factor option boxes you wish to activate.
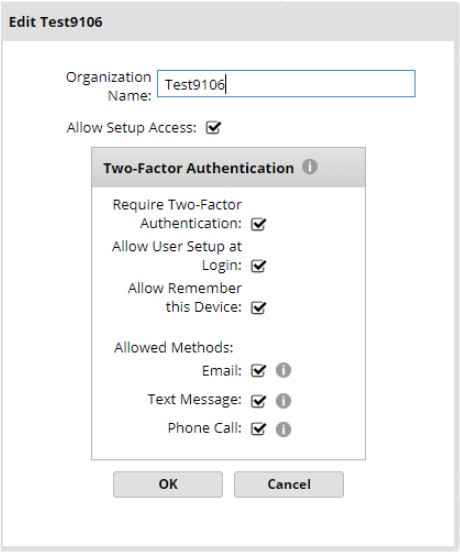
11. Click on the “OK” button.
12. The user window will be displayed. At the bottom of this screen, click the red “Save” button.
Require Two-Factor Authentication – select to activate 2FA for the organization. By selecting this option, all sub organizations of the current organization will also use 2FA (see Notes for additional information).
Allow User Setup at Login – it is highly recommended to select this option so users can add and validate contact information for 2FA during their first login subsequent to setting up 2FA. The contact information will be saved in fields separate from the email and phone number already stored with a user account. The 2FA contact fields do not default to the existing user account contact fields. Once 2FA is active, these new contact fields become visible in the user information. If this option is not selected, the organization administrator will need to add valid 2FA contact information (email, phone) to every user account.
Allow Remember this Device – the option gives users the opportunity during login to remember the device they are using, so 2FA will not be required for 14 days. This functionality only works for one device/browser at a time.
Allowed Methods – select the contact methods to make available in the organization for 2FA.
IMPORTANT: If the organization is already set up and you remove one or more allowed 2FA methods, it will remove that option for everyone in the organization and may adversely affect logins.
Logging into ISI Central with Two-Factor Authentication
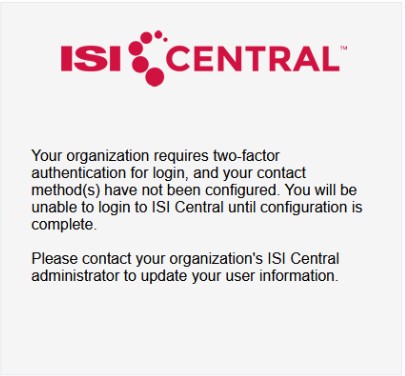
When a user has 2FA activated, upon submitting their username and password, they will be presented with the 2FA code generation and entry screens.
2. When setup is allowed at login the user will be prompted to configure the contact methods allowed to them:
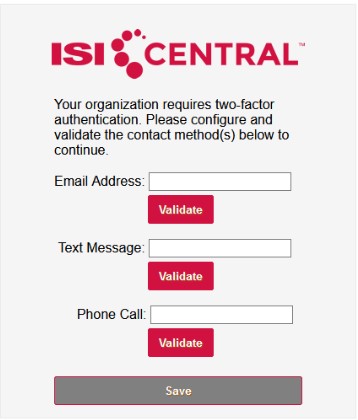
3. When Validate is pressed a code will be sent to the configured contact method and the user must enter and validate the code before they can continue.
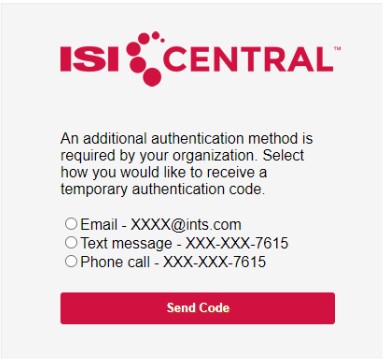
4. When their contact methods are configured, at the next login the user will select a 2FA option by clicking on one of the radio buttons next to the preferred authentication method, then clicking on, “Send Code”.
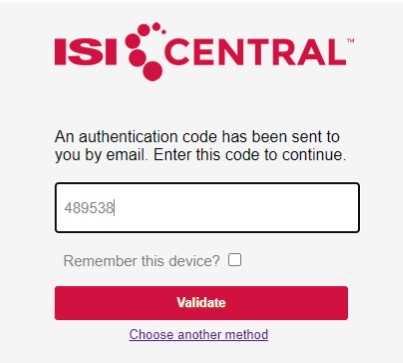
5. The user will receive an automated email, text message, or phone call with an authorization code. Enter the code provided into the “Authentication Code” field and click on the “Validate” button. The user can place a check mark in the “Remember this device?” if the device they are using is a personally secured and trusted device. The user can also click on “Choose another method” to go back to the previous screen.
Two-Factor Authentication Deactivation
To deactivate Two-Factor Authentication, complete the steps under “Setting up Two-Factor Authentication” in this document, and uncheck the 2FA options.
Notes